Choosy Scribes Choose Scrivener
Part 1 of 2 of Key Scrivener Features that make it my choice for word slingin'
1: What is Scrivener?
Scrivener, a revolutionary writing tool, redefines the art of writing by offering a non-linear approach to crafting narratives. This game-changing tool isn't just rewriting the rules of the writing game; it's tossing the rulebook out the window and doing a victory dance on conventional wording methods.
Tailored for both the spontaneous pantsers, and the meticulous plotters, Scrivener accommodates most writing styles. You can organize your thoughts in a fluid, non-sequential manner, whilst creating intricate storylines. I like to think of Scrivener as a multi-purpose tool, much like a Swiss Army knife. There is little Scrivener cannot do (short of actually writing the project—that’s your job), but some writers shy away because the learning curve is a little longer than some other wording tools, but I promise, the curve is worth the reward.
I hope that by the time you’ve completed this brief foray into what Scrivener offers, you will consider it a powerful addition to your writing arsenal. For questions or if you a deeper dive, please leave a comment below. Also note, I am not employed by the creators of Scrivener and I paid full price for the tool (US $49.00).
2: You want templates? We got templates..
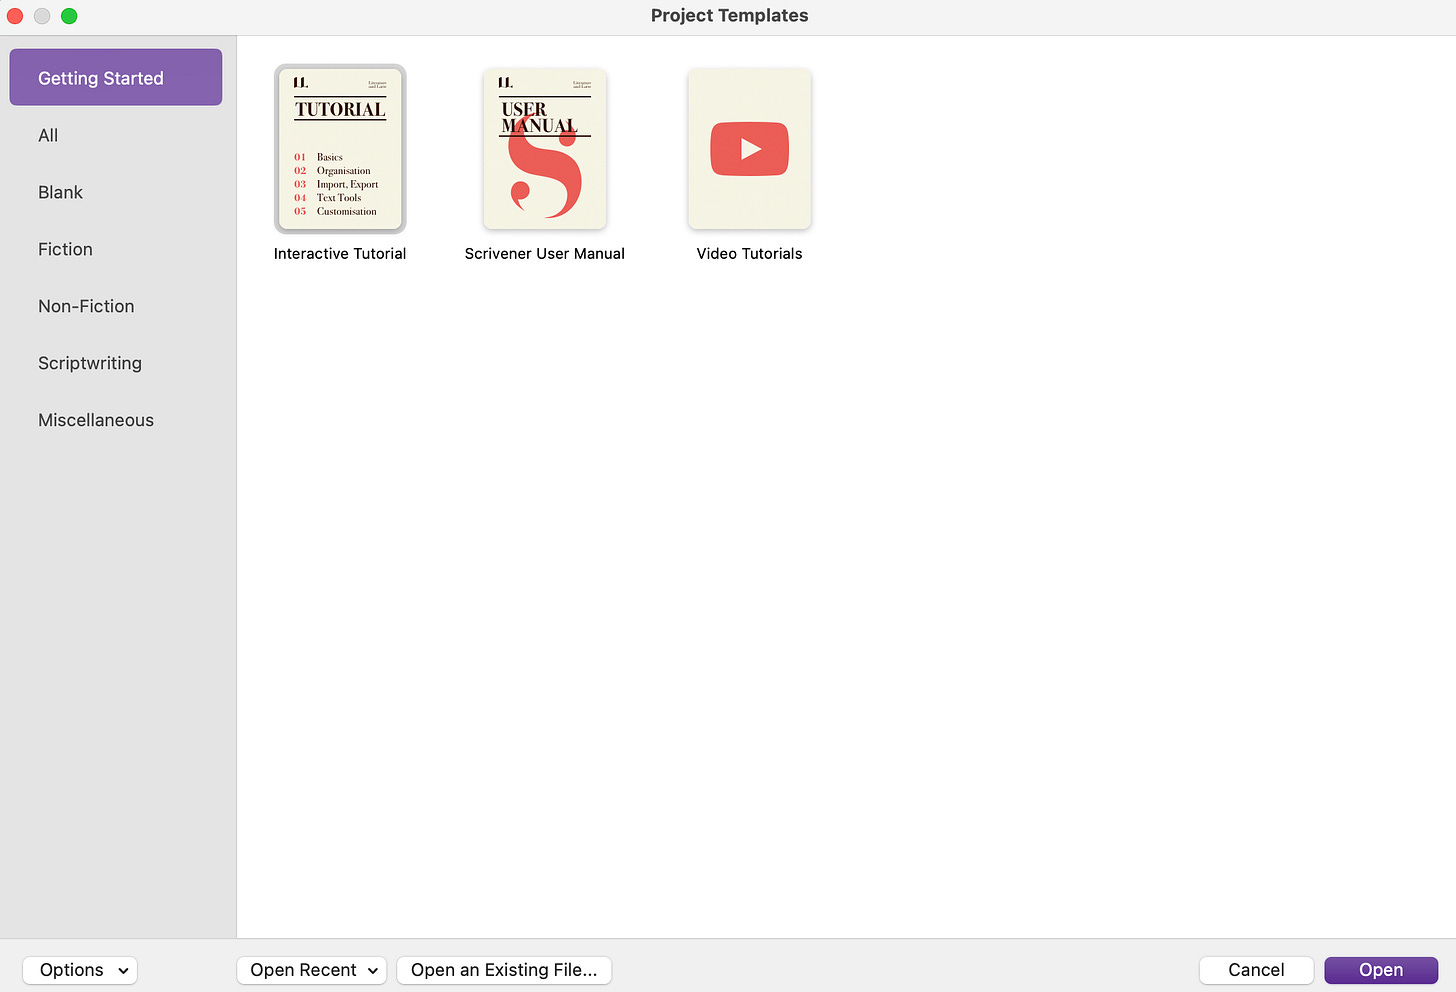
I recommend you download the 30 day trial from the Literature and Latte website and install it for your particular flavor of CPU brains…it will help your wetware with some notes I discuss here. Go ahead, I’ll wait. Great. Now, when you open the software, you're greeted with the getting started screen shown below.
The Tutorial File is comprehensive and you could work your way through a project simply by following the instructions.
Since most of you were going to be interested in fiction, let’s examine the fiction and scriptwriting templates. If you’re playing along with the home game, click on the Fiction or Scriptwriting options in the gray list. The functionality I’m going to show you works in any format, though it may appear a little differently.
The three templates above are for novels, and the ones below are scriptwriting, including radio scenes, stage plays, and comic book scripts.
Each template loads with its own instructions at the top of the binder. Below are the instructions for using the Novel (with parts) Format.
Using these instructions, you will create subparts, change the title, and compile the document.
3: Binder, and labels, and colors, oh my!
What sold me on Scrivener is the binder. Think of it as the coolest trapper keeper ever or, if you're a certain age, a giant three-ring binder with everything your story needs to be complete. And when I say everything… I mean research, photographs, PDFs, wiki pages, notes, audio and video files, and any other content that gives your story verisimilitude (that’s your vocab word for the day). And the best part? Moving assets into Scrivener is simply drag from the browser and drop into the binder. That’s it! No incantations or dancing naked under the moon required. I mean, unless you want to—it’s your life, live free.
The research binder showing above is from an upcoming episode of my Lady Sherlock Mysteries Audio drama. In the episode there are lepers, Franciscan monks, faster than light travel, and steam powered cars. I could probably chat about any of these topics for 10 minutes extemporaneously, but when you're committing something to a forever medium, it's best to have the facts. The screen capture above shows a wiki page about steam cars in Scrivener’s Research Binder.
Before Scrivener, I would use folders, note pads, sticky notes, and voice recordings and store them everywhere. It was a perfect system until I needed them.. then the wailing and gnashing of teeth would begin.
With Scrivener, all your files are in one place. Because you can view your Scrivener files on mobile, tablet, or desktop, all the research is always at your fingertips. All the graphics used in this newsletter are in a research binder called ‘Scrivener Research’ in a file called ‘Blog’. As I do more newsletters, I add to this file.
A quick word about cloud storage: Scrivener does not provide its own space in the cloud. You'll need to use Dropbox (I've been on the free version of Dropbox forever) to sync across all your devices. Oh, yes, Scrivener is available on mobile, tablets, laptops, and desktops.
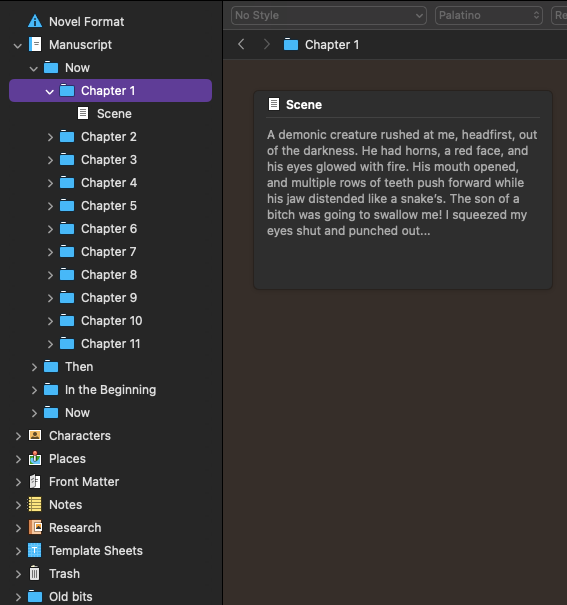
The binder is not just for research. In the screenshot above, we're looking at a novel format template and you can see that we've broken the novel up into parts (the folders labeled Now, Then, In the beginning). Beneath that are additional templates (‘Character’ and ‘Place’ sketches) for you to flesh out your story (or not, you don’t have to use any of the tools). ‘Front Matter’ is how you want your title page/cover pages/dedications to look.
In the binder above, I’ve labeled the chapters by POV character color and their status as first draft. You can literally apply any label or status that will help you get through your drafts. Or use none. No one will check and you’re not required to show your work. To activate the Labels, you can right click on any section in the binder and select Labels from the Context Menu; you can customize these bad boys to be anything you want, and, while there may be an upper limit to how many you can create, I’ve never reached it. To have the labels display as in the example, select View/Use Label Color/Binder. Select the labels in the Inspector (shown below) to apply them as shown above.
The Substack email goblins tell me we have to stop here. Next issue, we will talk about the cork board (my favorite tool), getting your document stats, and compiling for output.
Remember, sharing is caring, so tell your friends to subscribe to the Strangeverse.


